Drive Chain
SAFETY FIRST: Protective gloves and eyewear are recommended at this point.
| 1998 - 2003 | RK50MFOZ1, 118 links (600), 116 links (750) |
| 2004 - 2007 | RK50SMOZ1, 118 links (600), 116 links (750) |
Before riding, the drive chain should be checked to make sure that it's adjusted and lubricated properly. When your ride is complete the chain should always be cleaned and re-lubricated. The best time to lube a chain is when it's hot as the lubricant will penetrate the rollers and O-rings better.
See the Drive Chain Adjustment topic for more information on cleaning and lubricating the chain.
Removal
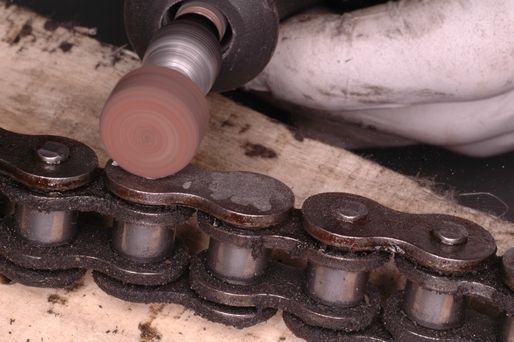
Use a rotary tool with a grinding tip to grind off one of the heads of the pins.
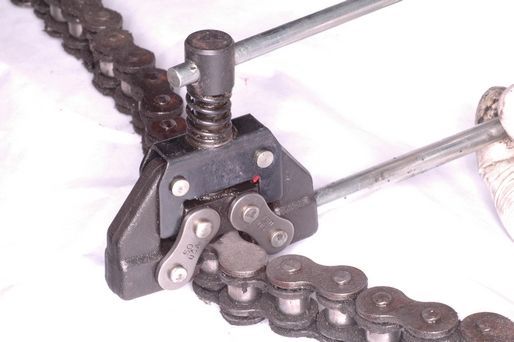


Use a chain breaker to remove the link side plate and separate the chain.
Installation
Install the new chain onto both front and rear sprockets. Place both ends of the new chain on adjoining teeth of the rear sprocket and install the master link from the inside of the chain. Do not use the old master link with the new chain.
Install the master link O-rings and side plate. Use the drive chain tool to push the side plates onto the master link.
The measure the distance the master links pins protrude from the plate. Set the distance as indicated by the chain manufacturer.
Use the drive chain tool to stake the master link pins. Do not crack pins.
If the pins are damaged or the diameter of the staked pins is out of specification the master link plate, O-rings, and link must be replaced.
Adjust the drive chain. See the Drive Chain Adjustment topic for information.
Copyright - Cyclepedia Press LLC

Note: If you are viewing this document offline be sure to visit the latest version online at http://www.cyclepedia.com before attempting any repairs. Updates are made without notice.